Authentication
Restrict a Toolpad Studio application to authenticated users only, under certain authentication providers.
You can configure a Toolpad Studio application so that users have to sign in with specific authentication providers in order to access it.
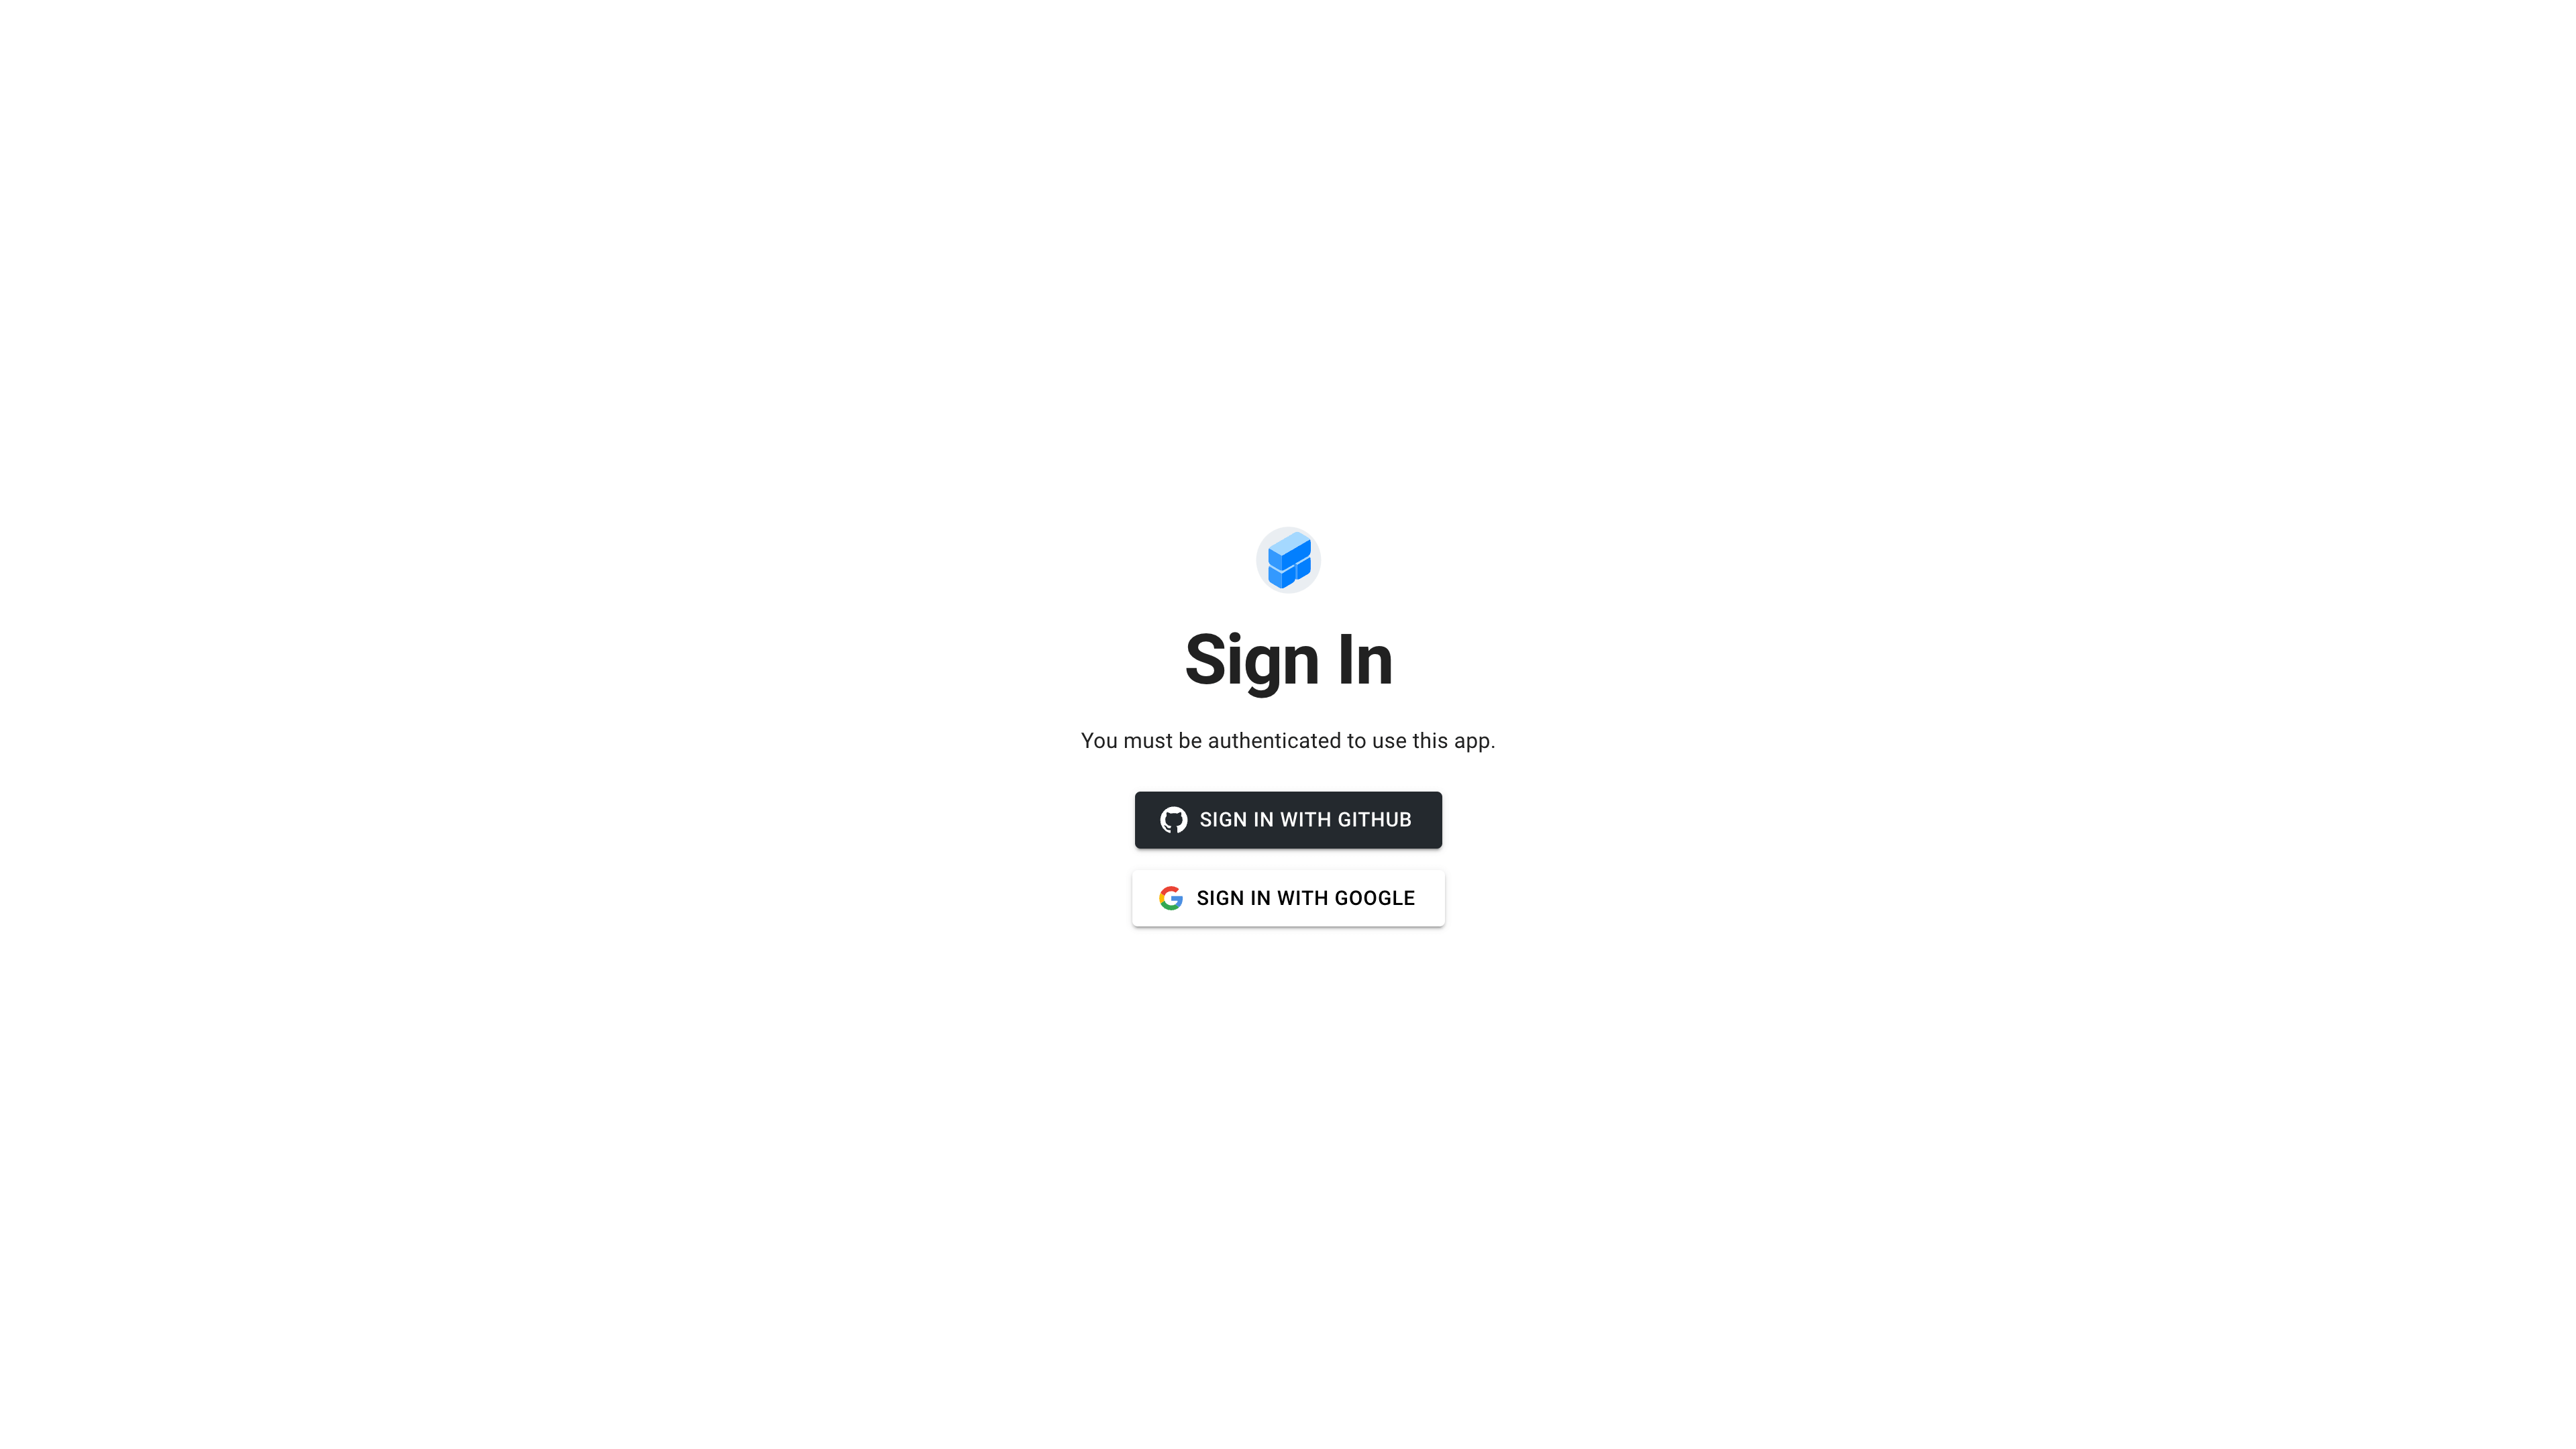
Toolpad Studio sign-in page
Authentication settings can be accessed through the Authorization option in the app editor header.
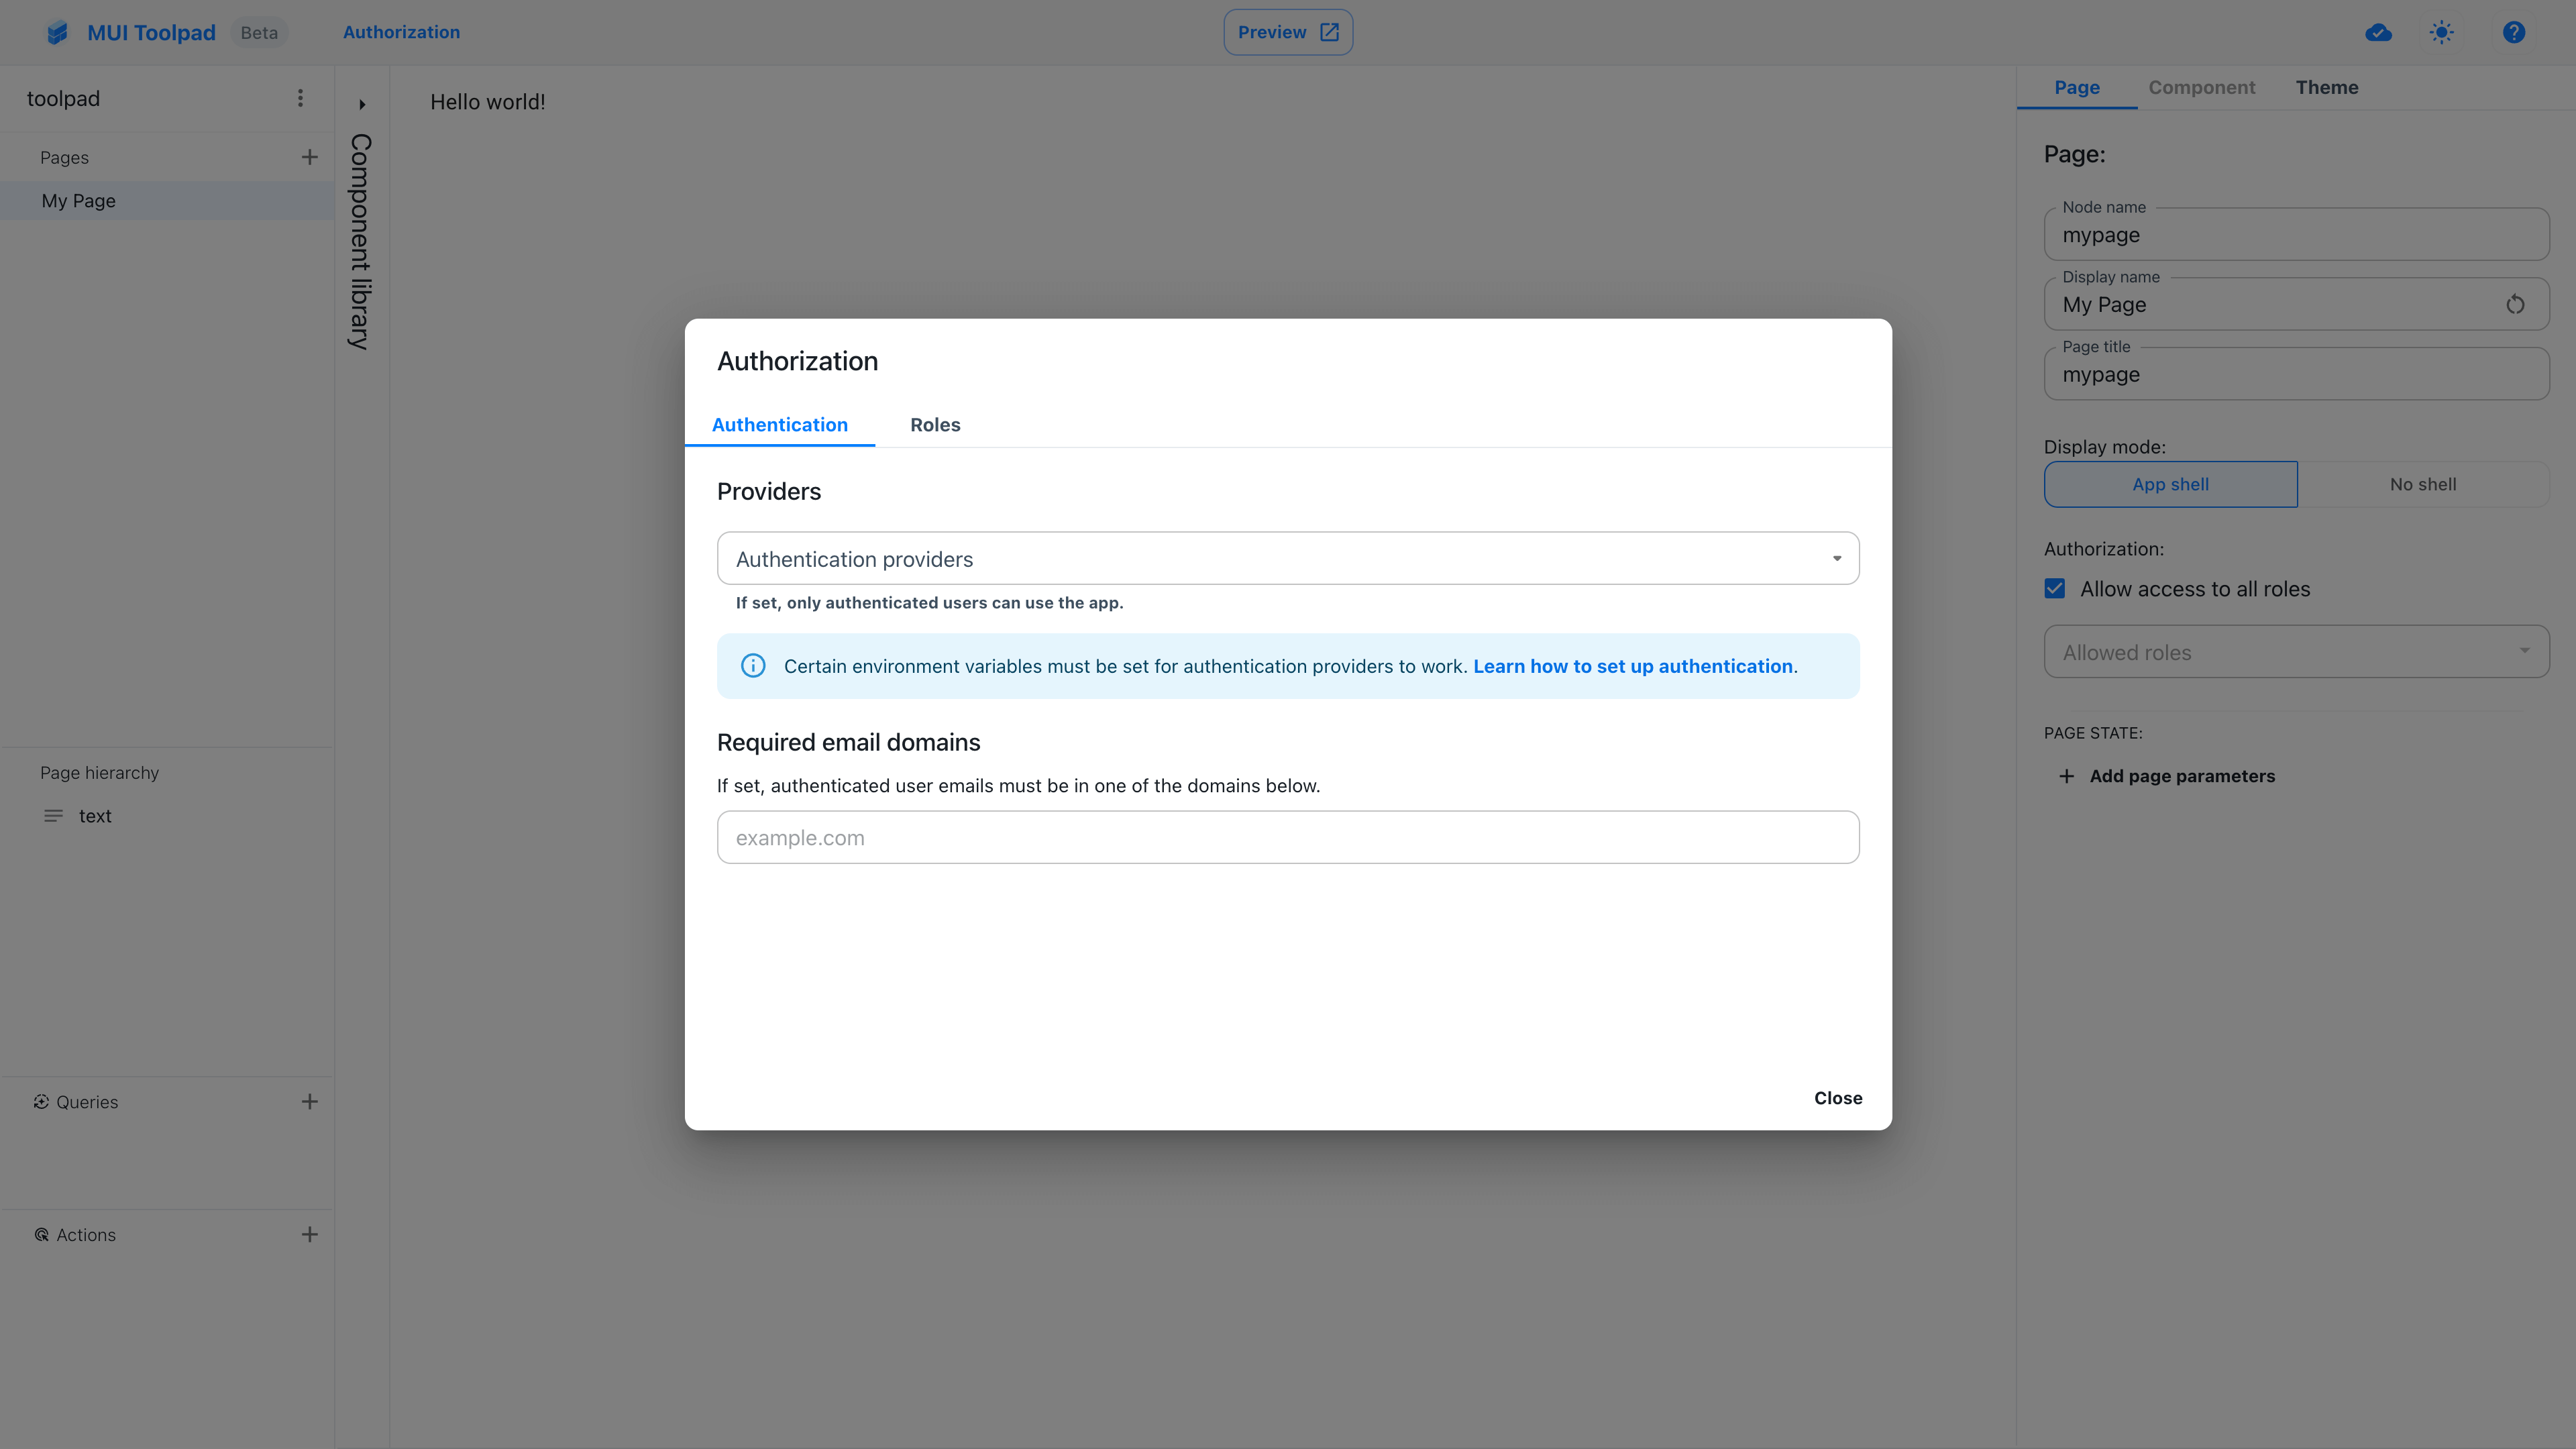
Authentication settings
Authentication secret
To enable any authorization features, you must set a random string to be used as a secret in the TOOLPAD_AUTH_SECRET environment variable.
This secret will be used to hash tokens, sign/encrypt cookies and generate cryptographic keys.
You can quickly create a good value on the command line with this openssl command:
openssl rand -base64 32
Authentication providers
In the authentication settings, you can set up one or more authentication providers for users to be able to sign in with, such as GitHub and Google.
If any authentication providers are set, only authenticated users are able to access your Toolpad Studio application.
Each authentication provider has its own configuration options, to be set with certain environment variables.
GitHub
| environment variable name | description |
|---|---|
TOOLPAD_GITHUB_CLIENT_ID |
GitHub OAuth app client ID. |
TOOLPAD_GITHUB_CLIENT_SECRET |
GitHub OAuth app client secret. |
Take a look at the following official instructions to create a GitHub OAuth app.
In the GitHub OAuth app settings screen, in the Authorization callback URL option, use the production path of your application followed by /api/auth/callback/github, as in https://mui.com/api/auth/callback/github.

GitHub callback URL configuration
| environment variable name | description |
|---|---|
TOOLPAD_GOOGLE_CLIENT_ID |
Google OAuth client ID. |
TOOLPAD_GOOGLE_CLIENT_SECRET |
Google OAuth client secret. |
Take a look at the following official instructions to create a Google OAuth client ID.
In the Google OAuth client settings screen, under the Authorized redirect URIs option, make sure to include the production path of your application followed by /api/auth/callback/google, as in https://mui.com/api/auth/callback/google.
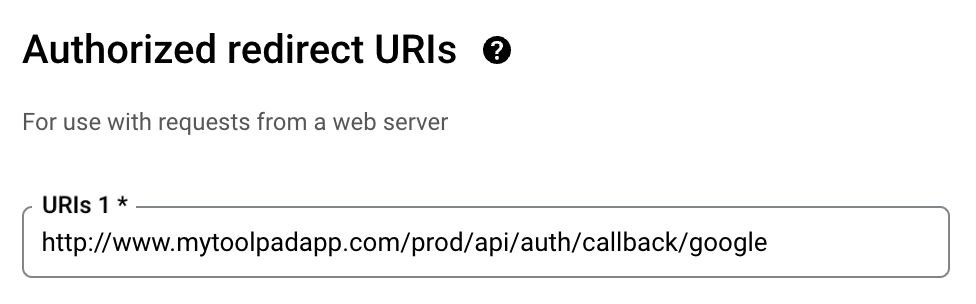
Google redirect URIs configuration
Azure Active Directory (now Entra ID)
| environment variable name | description |
|---|---|
TOOLPAD_AZURE_AD_CLIENT_ID |
Azure AD application (client) ID. |
TOOLPAD_AZURE_AD_CLIENT_SECRET |
Azure AD application client secret. |
TOOLPAD_AZURE_AD_TENANT_ID |
Azure AD application directory (tenant) ID |
Follow these steps to configure your Azure AD client and get the necessary environment variables:
Go to https://portal.azure.com, search for "Microsoft Entra ID" and go to it.
In the left-side menu, go to App registrations and create a new app by choosing New registration.
When registering your application, under the Redirect URI option, make sure to include the production path of your application followed by
/api/auth/callback/azure-ad, as inhttps://mui.com/api/auth/callback/azure-ad.

Azure AD redirect URI configuration
Once your application has been created, go to its page in App registrations where you can find the client and tenant IDs under the Overview option in the left-side menu.
Go to Certificates & secrets and use the option New client secret to generate a client secret.
With the Azure AD provider, only existing users of your Azure AD application will be able to sign in.
Restricted domains
In the authentication settings, you can specify one or more domains (such as mui.com) to restrict user authentication based on the signed-in user's email address.
If any restricted domains are set, the user must have at least one email address assigned to their current authentication provider that belongs to one of those domains, otherwise they will not be able to sign in.